Feeling Confused About Custom Enamel Pin Making? Here Are the Steps You Should Know!
By Sarah ChengMay 22nd, 2025963 views
Many people have questions about customizing enamel pins, such as the processes involved, the types of techniques, which technique is better, and the detailed steps of customization. Today, let's look at how an enamel pin is made.
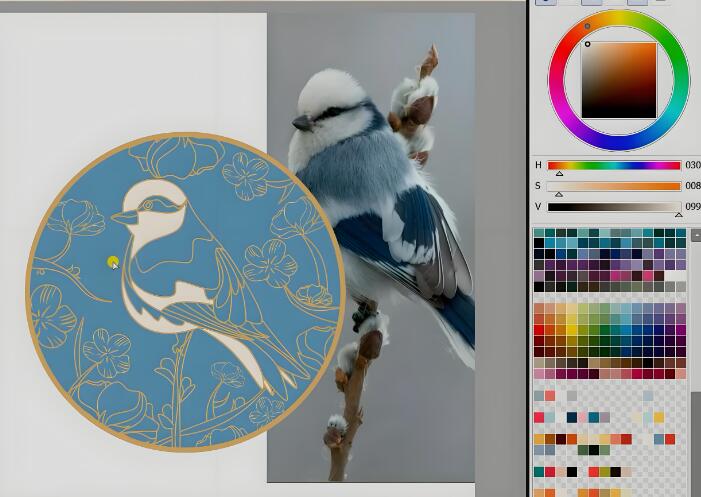
Based on the customer's requirements and design drafts, production drawings are created using computer software. The design must be clear and able to be accurately represented during production.
We have an artist team of 28 enamel pin designers with extensive experience and a meticulous approach to craftsmanship. Every line, color, and detail is given full attention to achieve the best results.
Customers need to provide design files in AI, CDR, PDF, or other formats. If there is no original design, high-resolution images can be provided. Even hand-drawn sketches are acceptable, and our team can create the final design.
Step 2: Mold Making
After the drawing is completed, the next step is mold making, which can be done manually or using machines.
Manual mold engraving relies on the expertise, skill, and experience of the craftsmen. Alternatively, we use fully automated CNC engraving machines that combine precision programs with the expertise of mold makers to create perfect molds.
Step 3: Casting/Stamping
Once the mold is made, the next step is casting or stamping the enamel pin.
First, the mold undergoes a thorough inspection and is polished to ensure every detail is perfect. Then, the pin blanks are created either through die-casting, using primarily zinc alloy melted and shaped through the mold, or stamping, where logos are pressed onto copper or iron plates, and then the pins are shaped under high pressure.
This step requires precise machines and techniques to ensure accurate control of size, shape, thickness, and smoothness.
Step 4: Polishing
After the blanks are created, they need to be polished to remove burrs from stamping and enhance smoothness and glossiness. The quality of the polish determines the final look and feel of the enamel pin.
Polishing is also crucial for other metal crafts like commemorative coins, car emblems, medals, and keychains. Both the machinery and the expertise of the operators are vital for achieving high-quality polishing.
Step 5: Plating
Next, the pins undergo electroplating. Before plating, the pins are manually hung on racks and immersed in an electrolyte bath. Through electrochemical reactions, a layer of metal (gold, silver, nickel, etc.) is plated onto the pin's surface.
This step requires careful control of the electrolyte, current intensity, and plating time to ensure a smooth, even, and durable finish. After electroplating, the pins are washed, dried, baked, and treated with anti-oxidation oil, then removed from the racks. Step 6: Coloring
After electroplating, the pins are colored according to customer requirements. This step breathes life into the craft, using the appropriate pigments for different coloring techniques to ensure the final colors match the design and are long-lasting and vibrant.
Coloring can be done manually or automatically. Techniques like baking paint and imitation enamel can use machines, but true enamel, requiring powder pigments, must be hand-painted. The pins are then baked to set the colors.
Step 7: Laser Engraving
For true enamel pins, there may be an additional grinding step after coloring, followed by electroplating. Depending on the design and process requirements, laser engraving might be used to add logos, text, or other details.
Laser engraving uses high-energy beams to locally vaporize or change the color of the surface material, creating permanent marks for unique numbering or anti-counterfeiting purposes.
Step 8: Quality Inspection
Before packaging, a thorough quality inspection is conducted. Each product is checked for size, accessories, plating effect, color consistency, scratches, and completeness of coloring to ensure they meet customer standards and expectations.
Step 9: Packaging
The final step is packaging the pins according to customer requirements. Packaging can range from standard OPP bags to high-end custom boxes made of various materials like velvet, PU leather, acrylic, wood, or special paper, and can include logos and specific designs.
Once packaged, the pins are ready for shipping.
From initial design to the finished product, an enamel pin undergoes numerous meticulous steps, each requiring skilled craftsmanship and advanced equipment. Our team carefully analyzes each design, process, and operation to ensure that every pin meets the highest quality standards.